You will need to manage the name, department and retail of items importing from an EDI invoice.
New items will import into an EDI invoice as a (Not Setup) item. You will need to assign a department, provide a description if needed, and retail (if applicable).
There are a few ways you can setup an item from the non-fuel invoice page. Either by single item changes, or by multiple items. Let’s start by single item.
1.Single Item– to update the description or department for a single item, right click the line item for a menu to appear allowing you to “View Item Details.” Click the “View Item Details” option to access the product editing window.

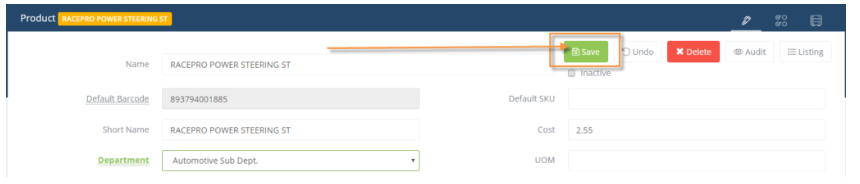
Enter in a good name and short name if needed, and select an active department using the department drop down menu.

After the name, short name, and description have been updated, click save to apply the item update.
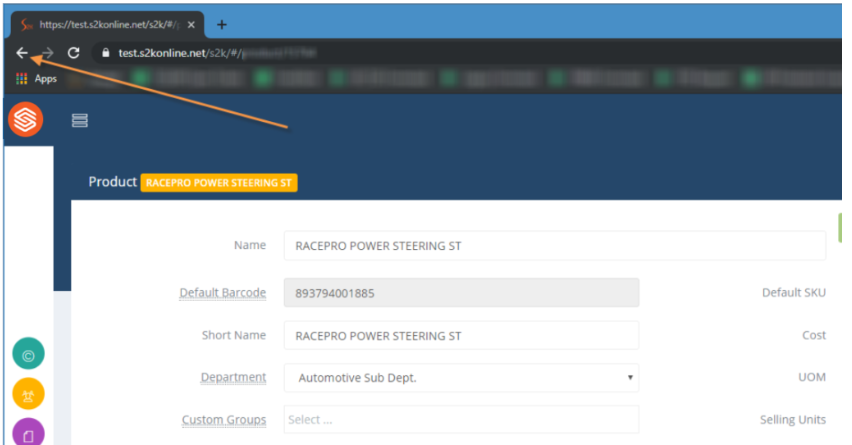
Use the back arrow to return to the invoice when finished.
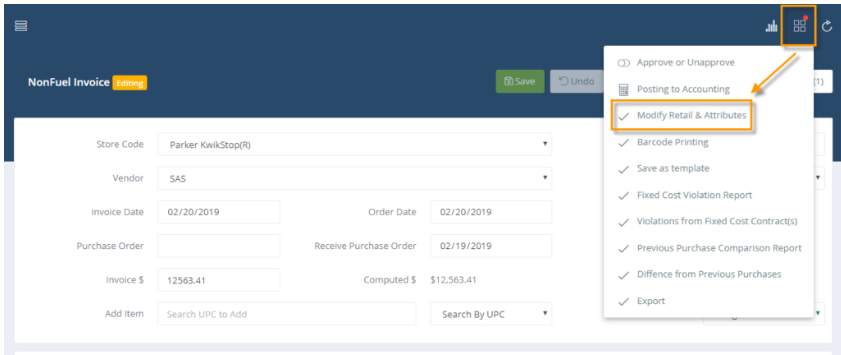
2. Multiple Item Updating– To edit multiple items at one time, click the actions button at the top of the invoice. From the drop down menu, click the “Modify Retail &Attributes” option.
You will be directed to a pricebook listing for only the items in the non-fuel invoice.

- Type to filter – Filter to seek specific items on the invoice listing.
- Group By – Use this to group by specific options in the drop down
- Expand/Collapse – Use this to expand and collapse the results below when you use Group By.
- Check Box – Use these to select items for various actions to be performed.
- Barcode – This is the UPC/PLU/SKU/Barcode of the item
- Name – Description of the item
- Sub Dept/Fee – Keep as Sub Dept or click the ellipses to choose the option of Fee to add CRV to items if applicable.
- Department – The department listing for the item
- Custom Groups – Used to add/remove items to custom groups for Pricing or Promotions.
- Cost – Cost of the item
- Retail – What you charge the customer
- Margin – Margin percentage for the item, will change as you update the page
- SRP – Suggested Retail Price from Vendor if provided
- Edit – Use this to open lines for editing
- +New – Add New item
- Reports – Locate a report to view
- Actions – Place to do various actions to items
- Search – Allows a search of the page
- Refresh – Refreshes the page.
Use the Group by field and select Department to group the items together, this allows you to see which items need a full set up.
Select the Edit button to open up the lines for changes.

From here you can now edit the items line by line as needed. The open lines you can edit are: Name, Sub Department, Custom Groups, and Retail. As you make changes they turn a bold color, so you know what you have updated before saving.

Save when done, and you will get a pop up, confirm it by hitting OK and then make sure to also send those changes to the POS from Pending Pricebook Changes.